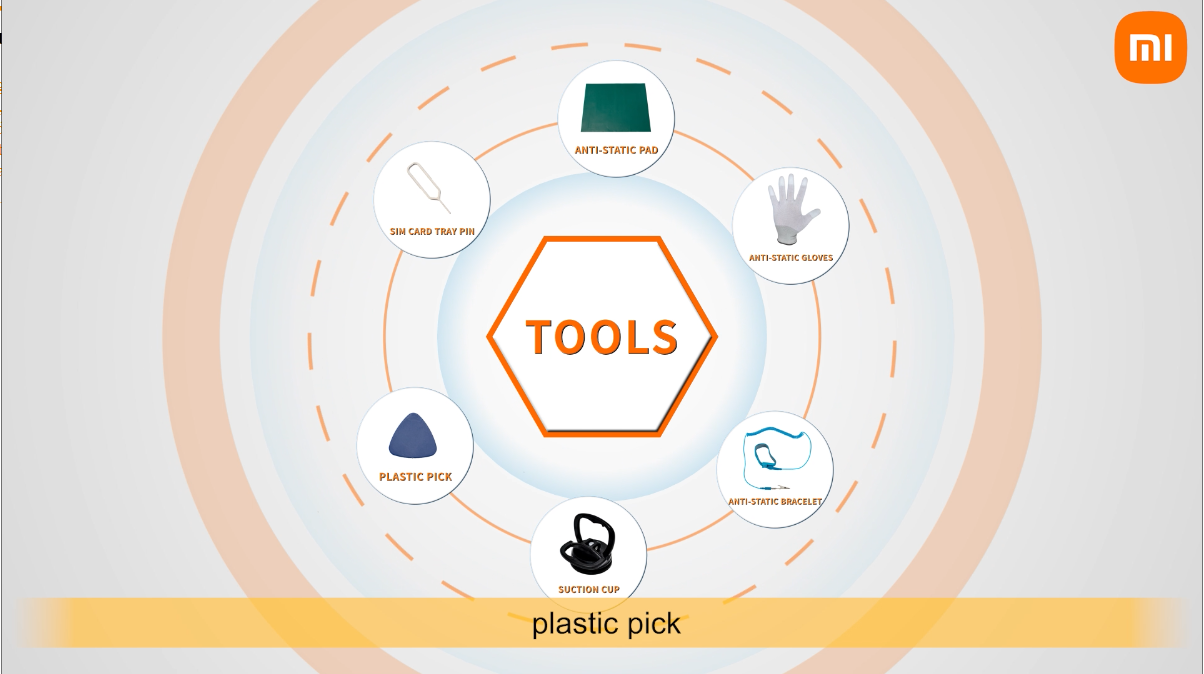
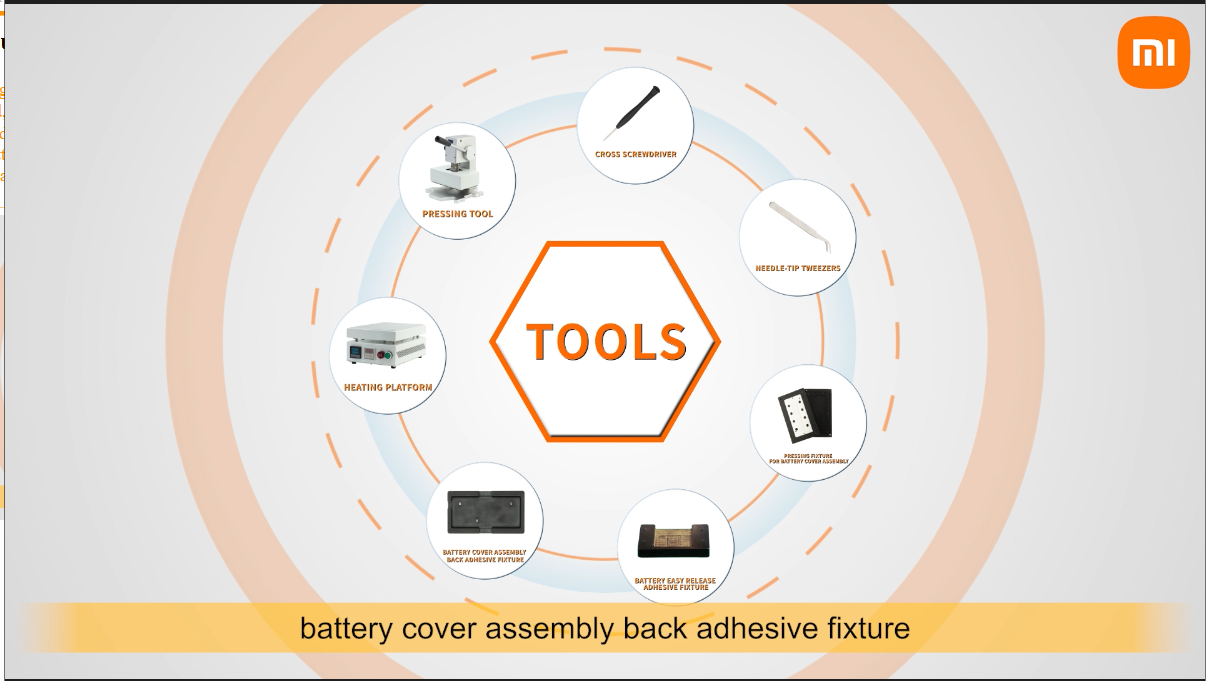
Tools instruction
Before starting work, you need to prepare relevant tools, including: anti-static pad,anti-static gloves,anti-static bracelet, suction cup, plastic pick, SIM card tray pin, cross screwdriver, needle-tip tweezers, pressing fixture for battery cover assembly, battery easy release adhesive fixture, battery cover assembly back adhesive fixture, heating platform, pressing tool.
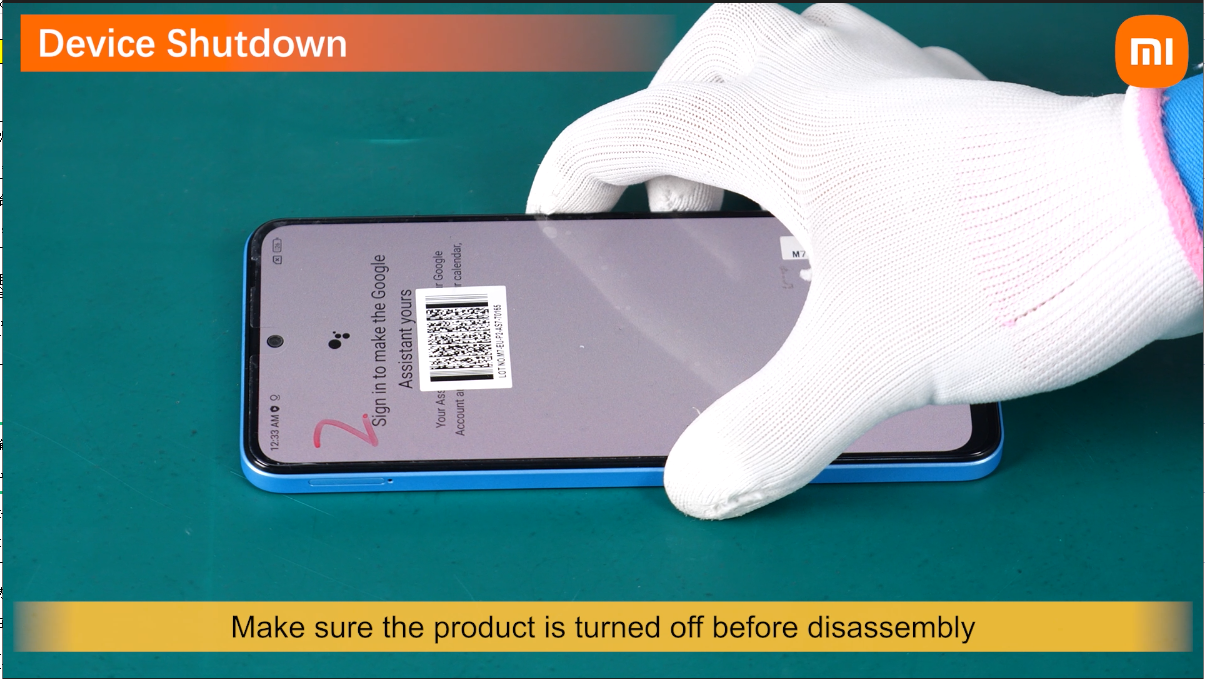
Mobile Phone disassembly
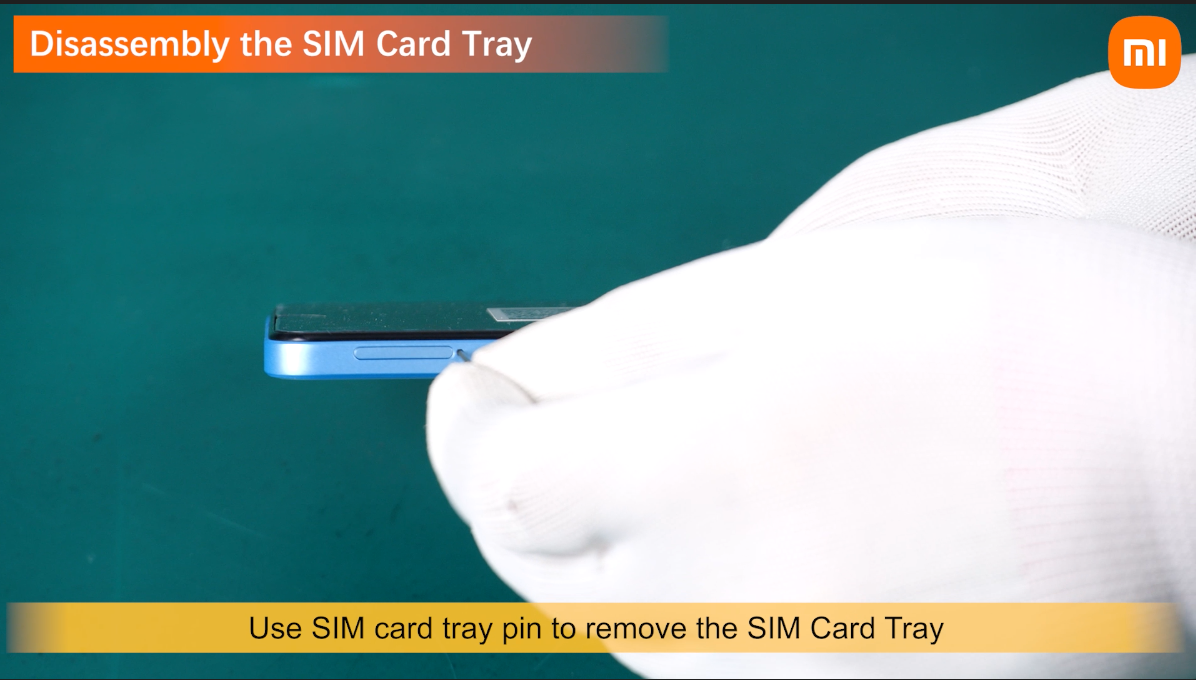
Make sure the product is turned off before disassembly.
Use SIM card tray pin to remove the SIM Card Tray.
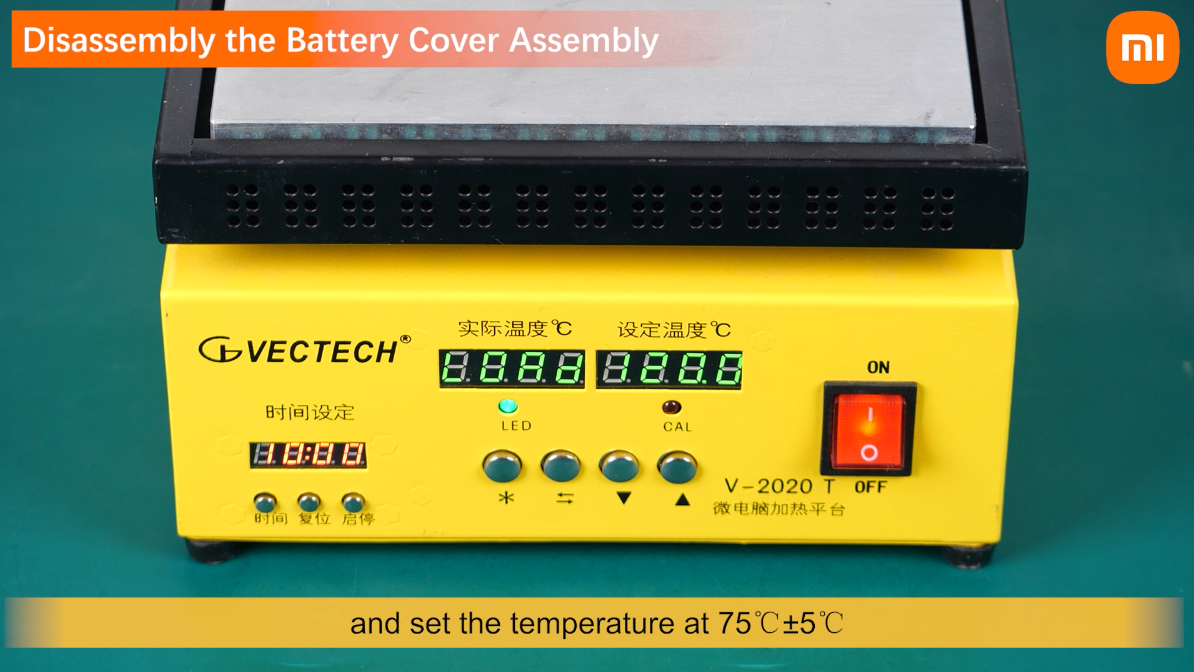
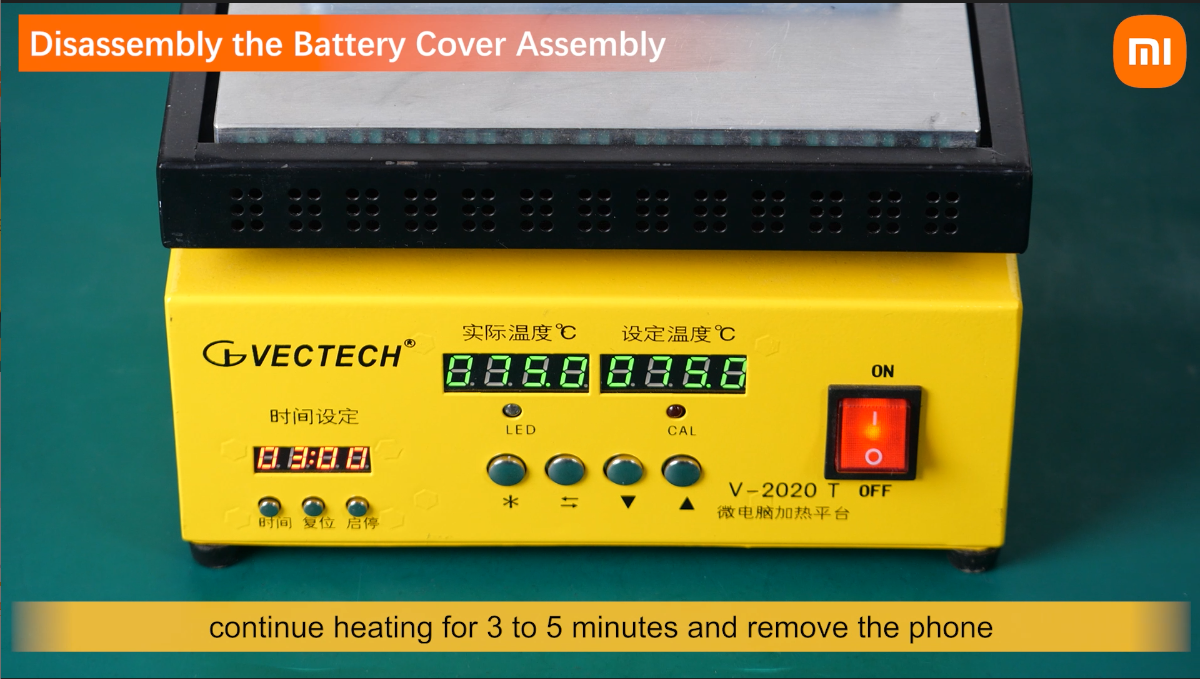
Turn on the heating platform and set the temperature at 75℃±5℃.

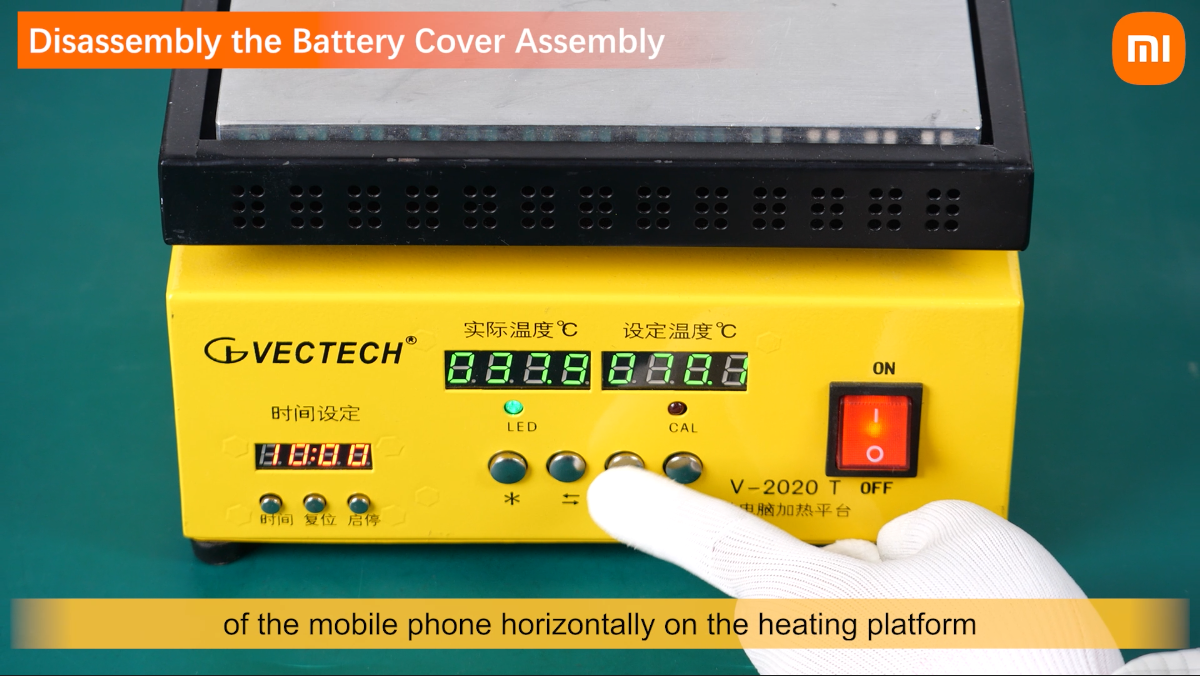
of the mobile phone horizontally on the heating platform.
When the actual temperature rises to the set temperature,
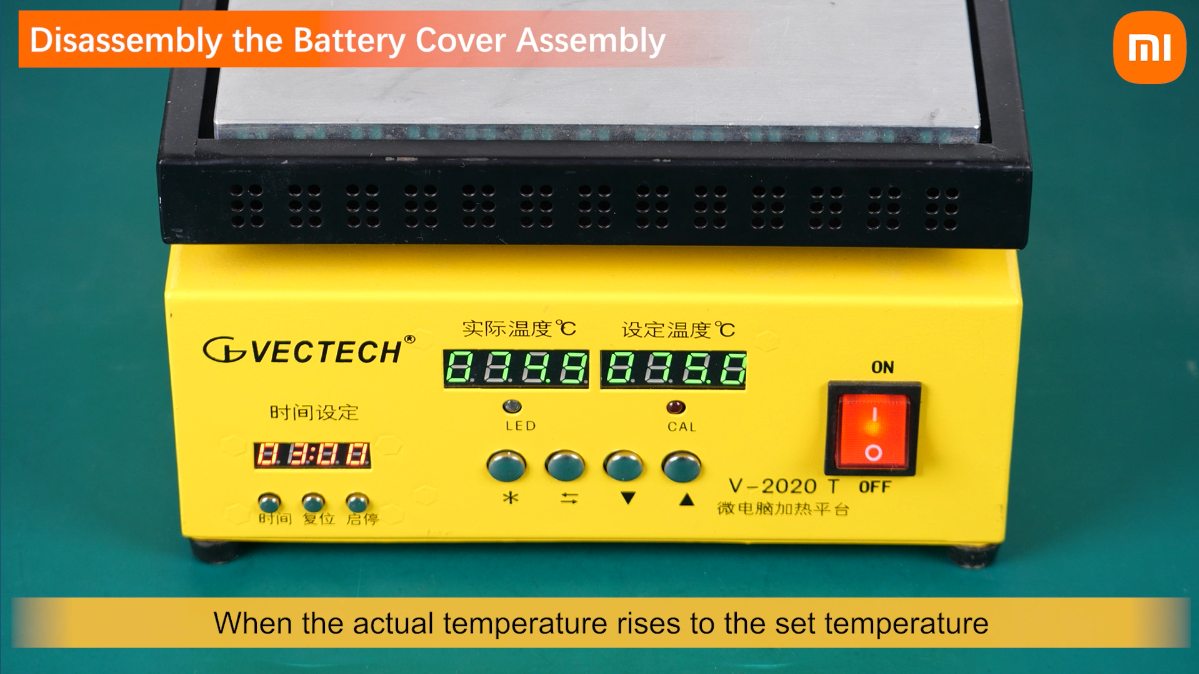
continue heating for 3 to 5 minutes and remove the phone.
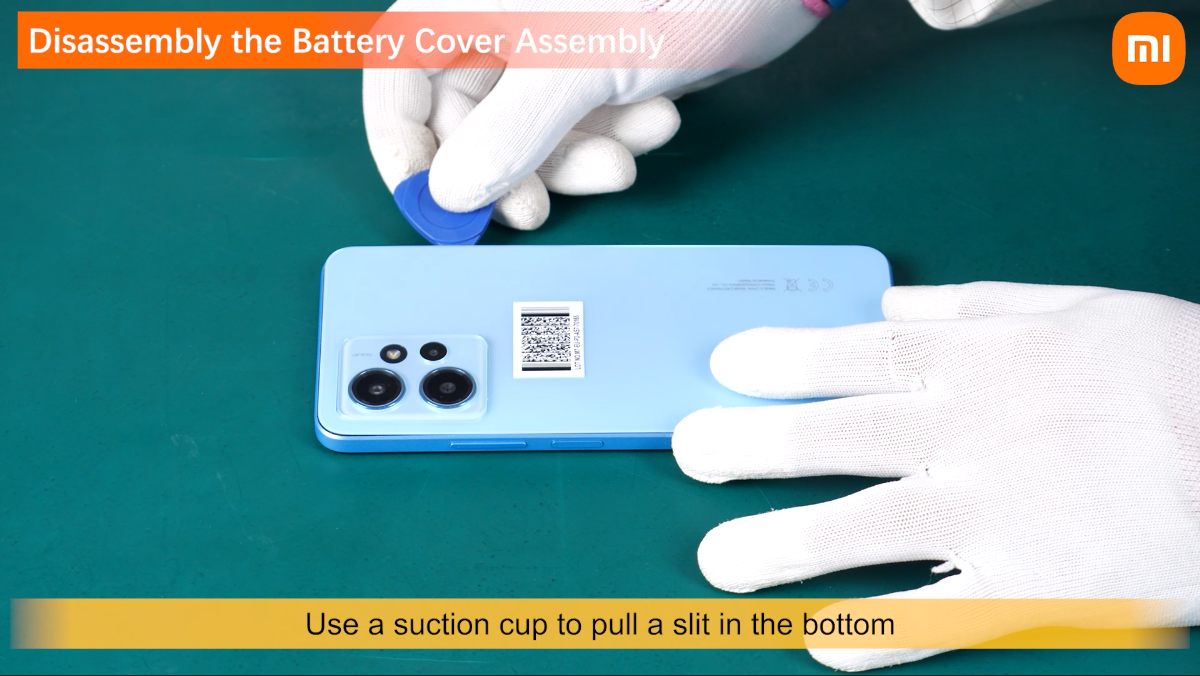
Use a suction cup to pull a slit in the bottom of the battery cover assembly.
Separate slowly along the slit using a plastic pick.
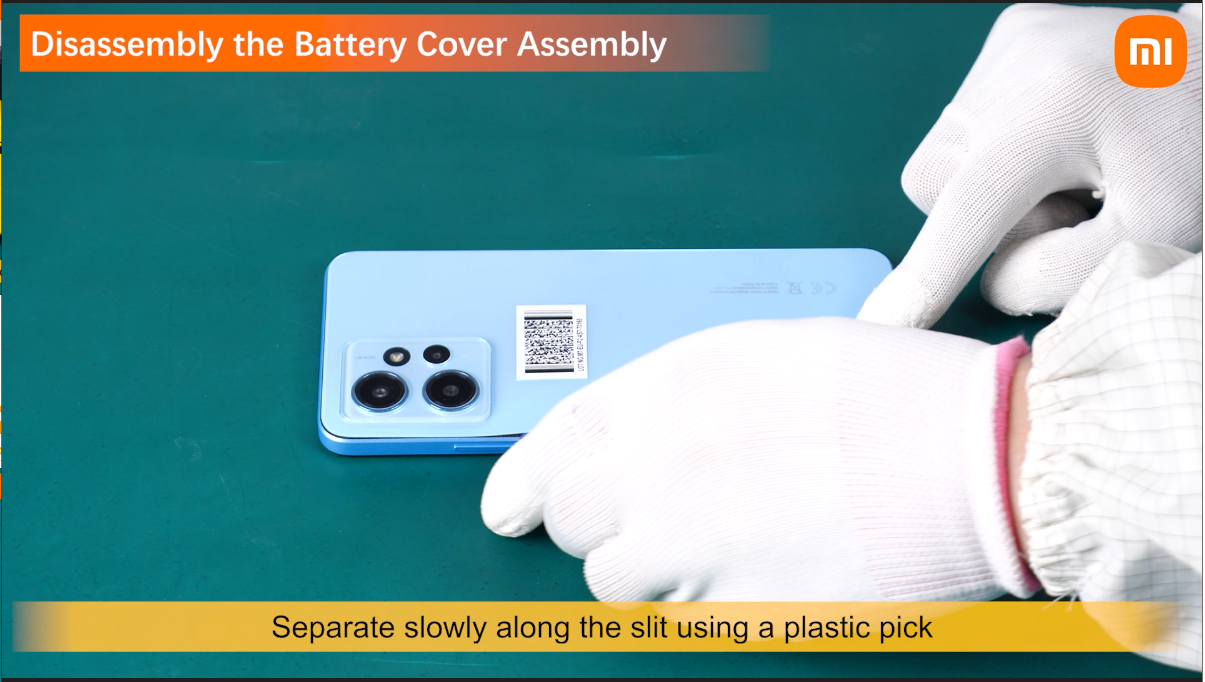
Remove the Battery Cover Assy.

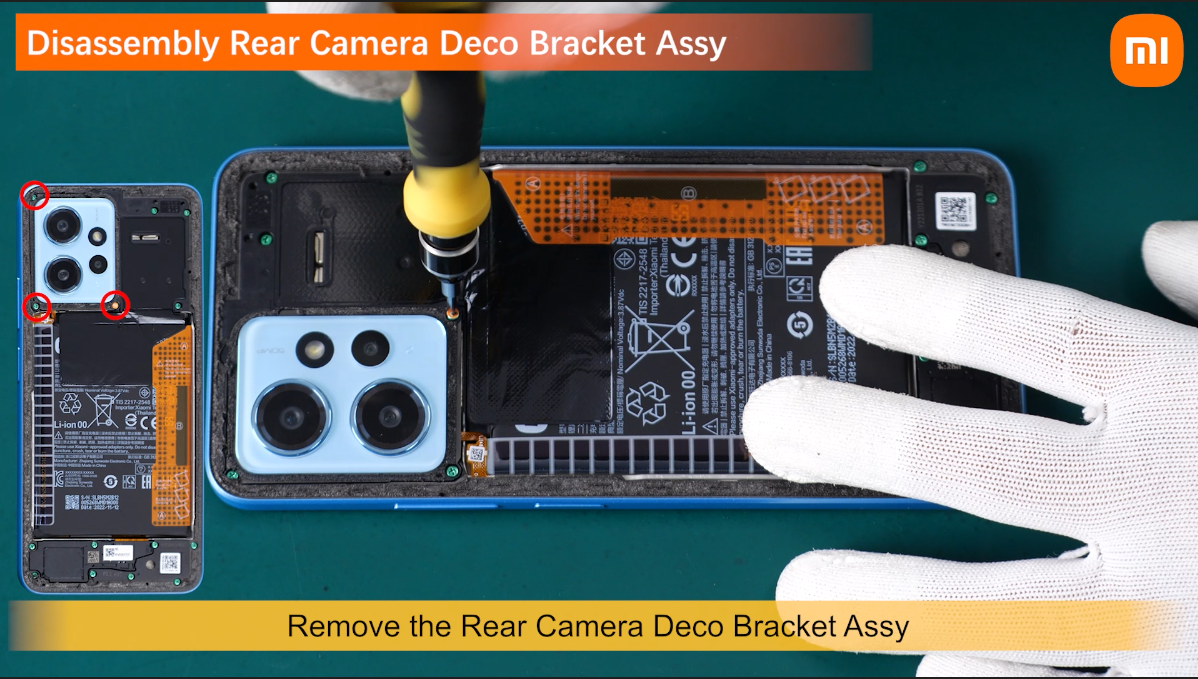
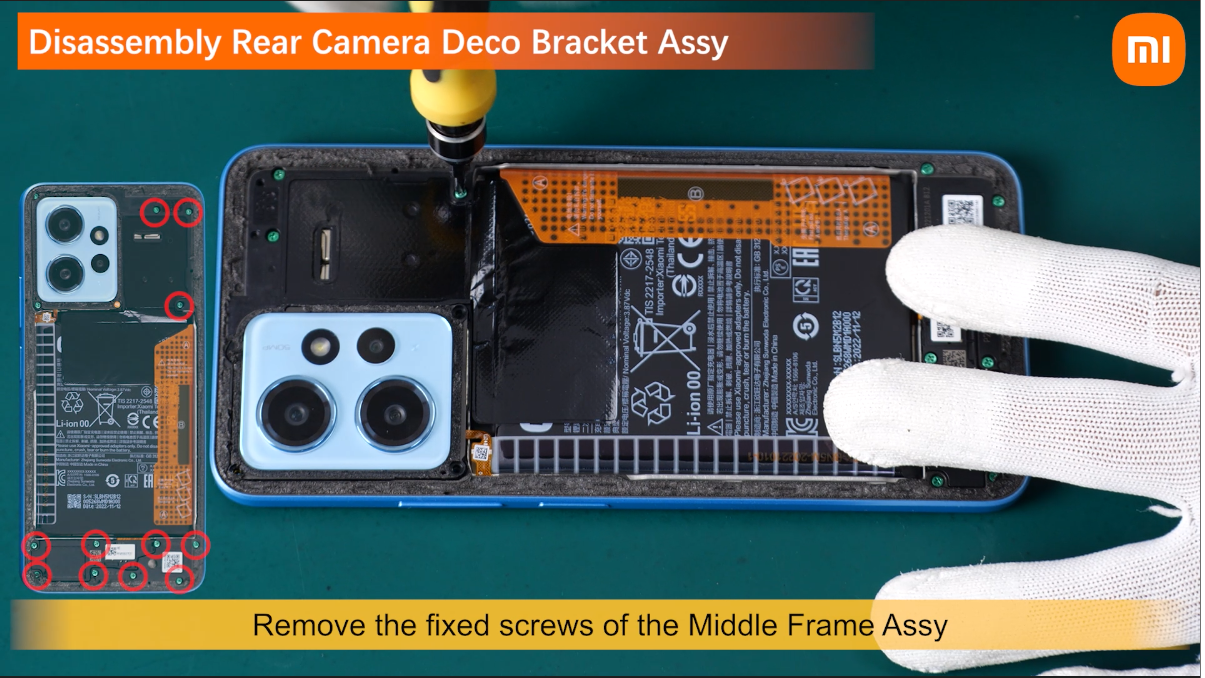
Remove the Rear Camera Deco Bracket Assy.
Remove the fixed screws of the Middle Frame Assy.
remove the Middle Frame Module.

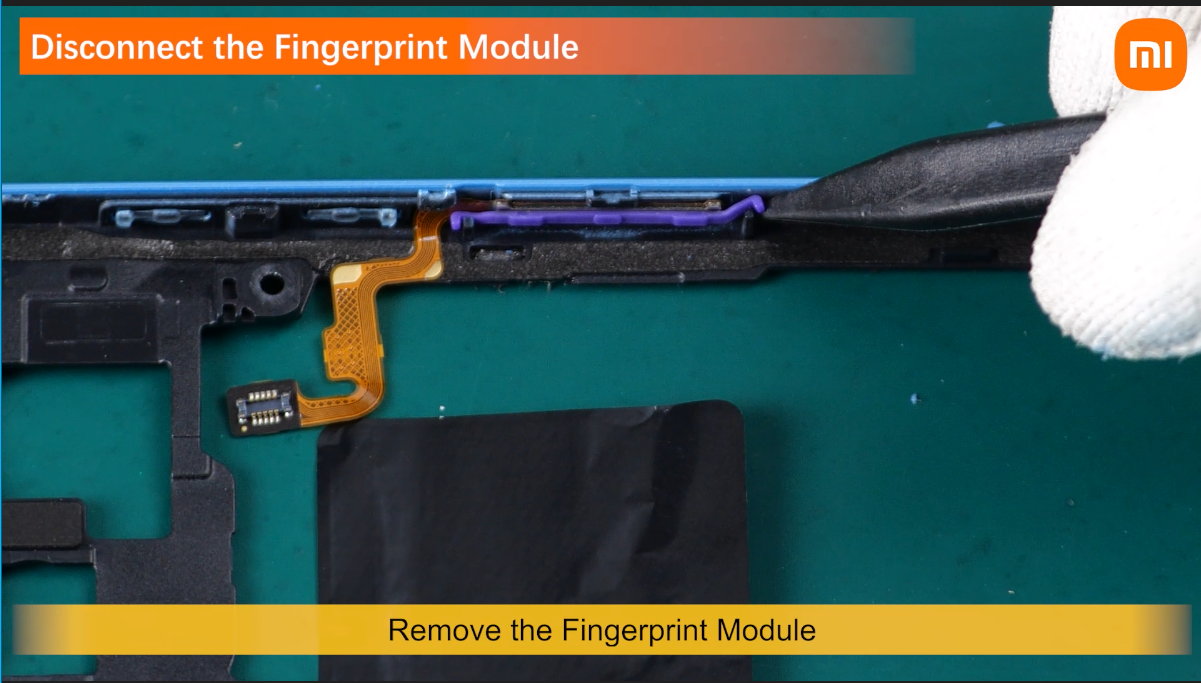
Remove the Fingerprint Module.
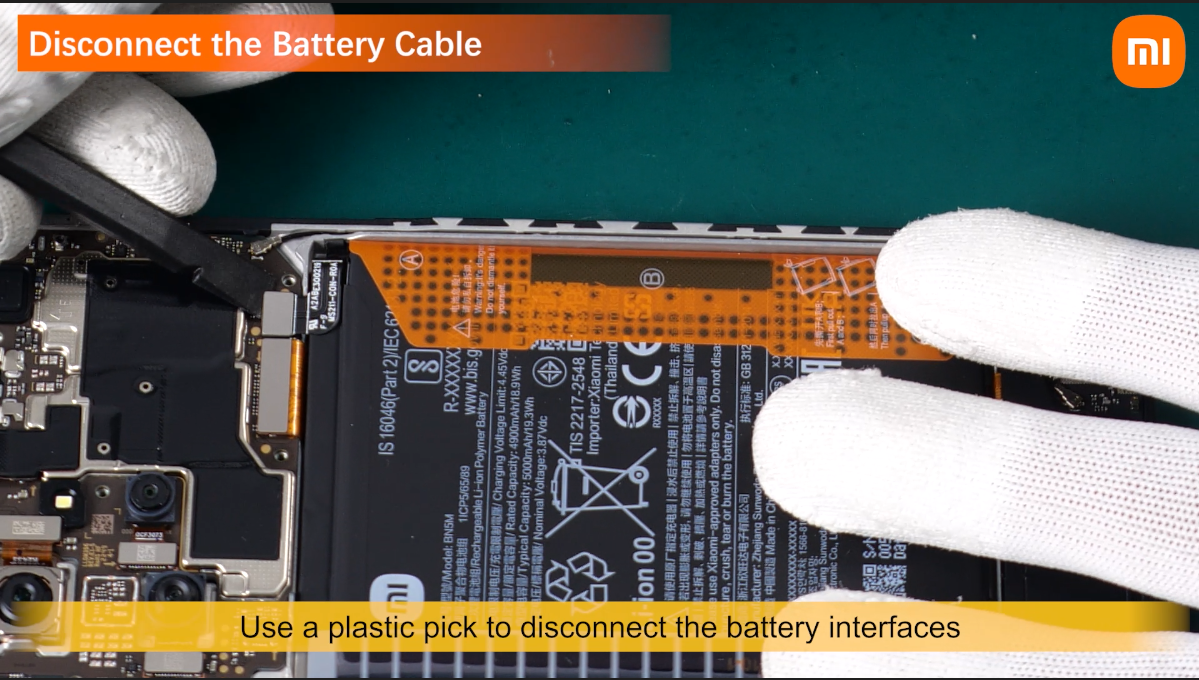
Use a plastic pick to disconnect the battery interface.
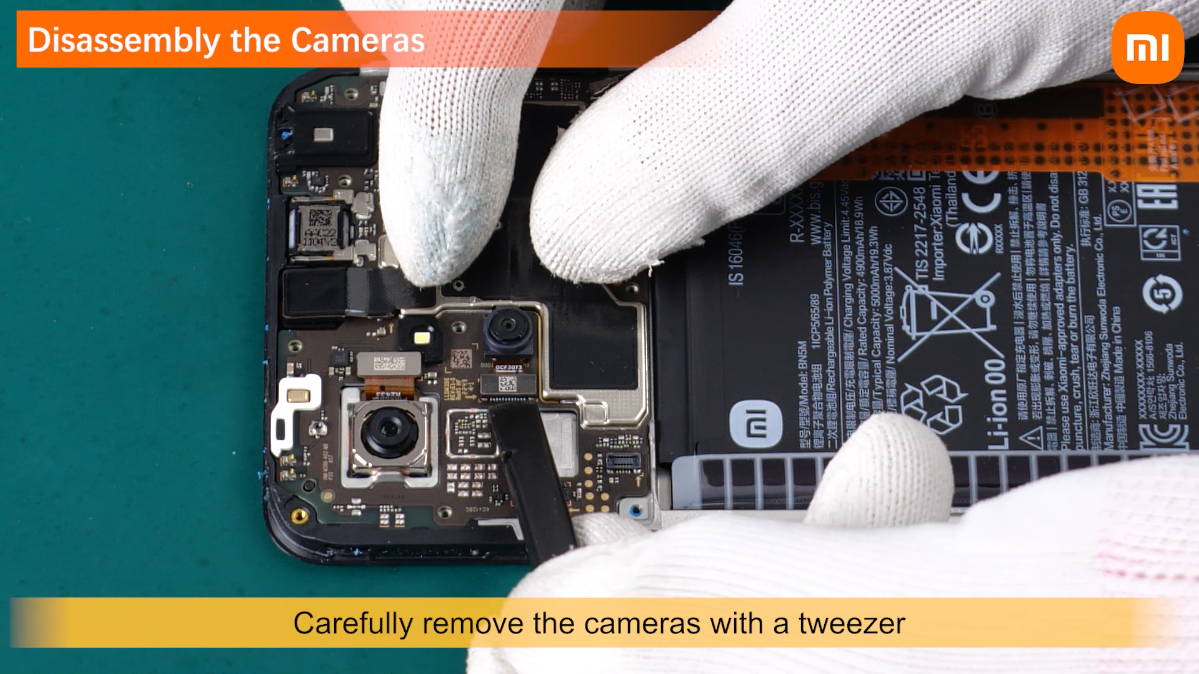
Disconnect all camera interfaces.
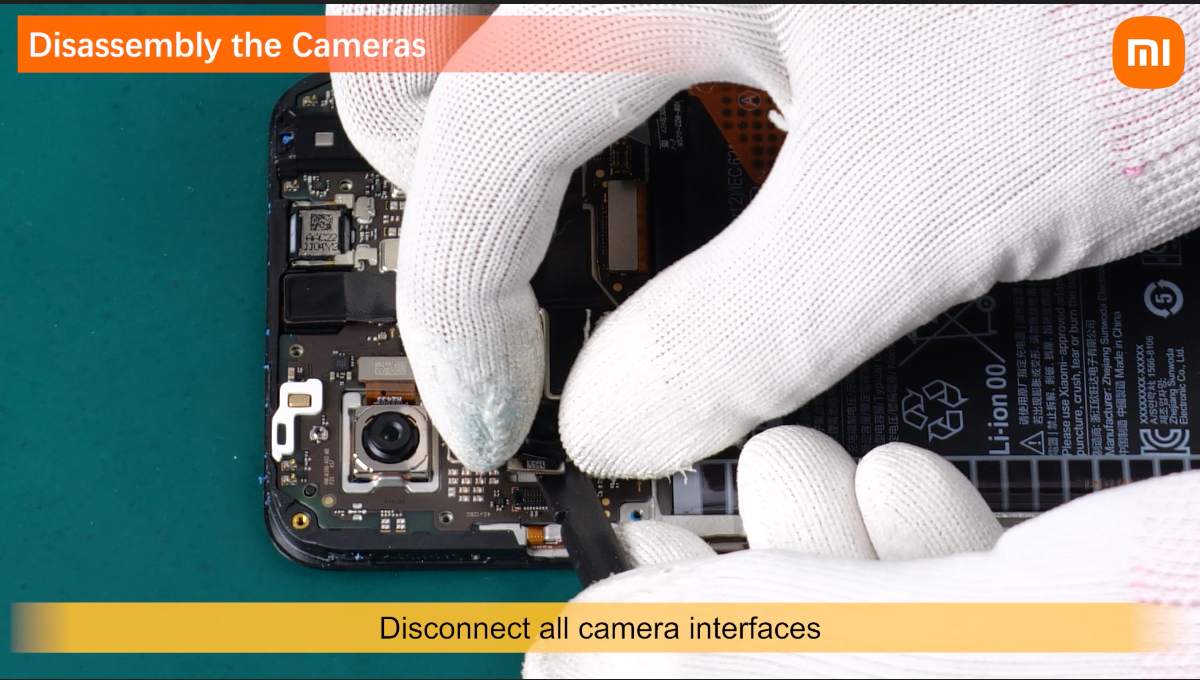
Carefully remove the cameras with a tweezer
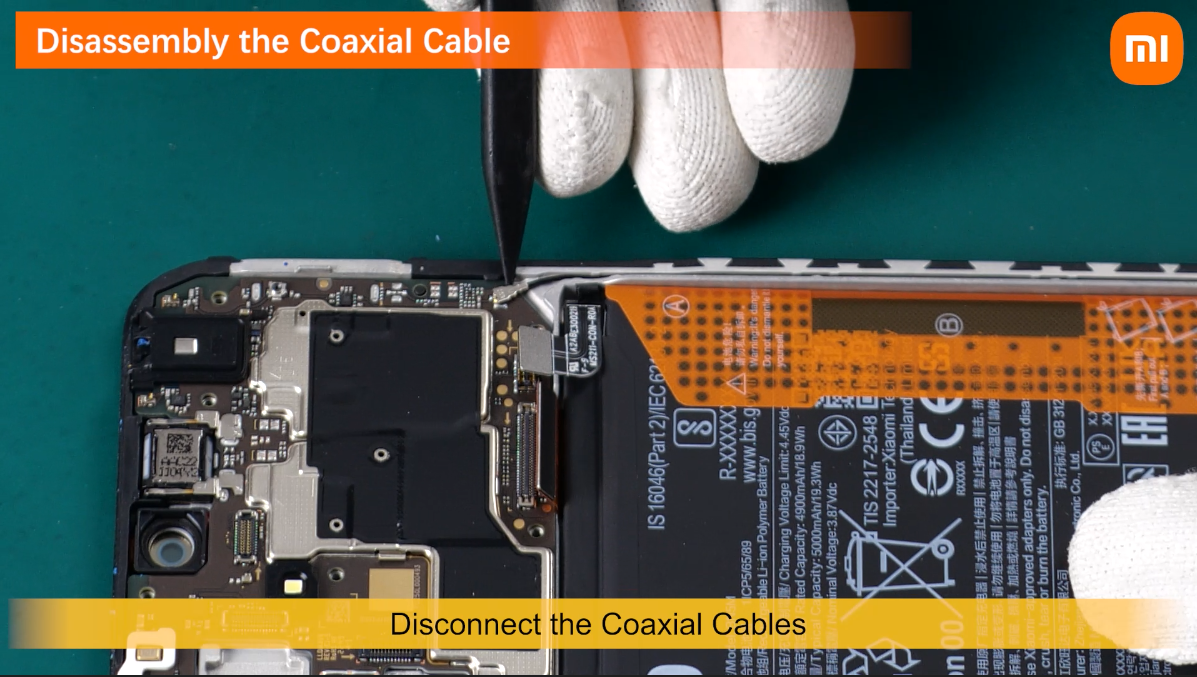
Disconnect the Coaxial cables .
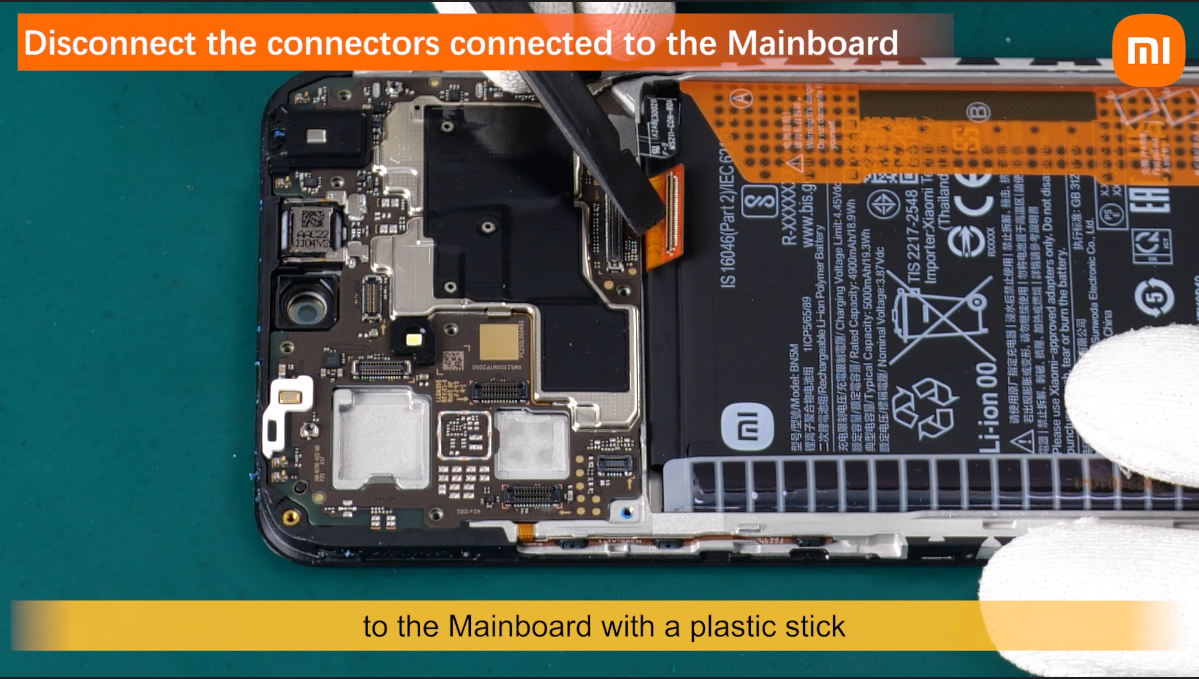
Disconnect the connectors connected.

to the Mainboard with a plastic stick.
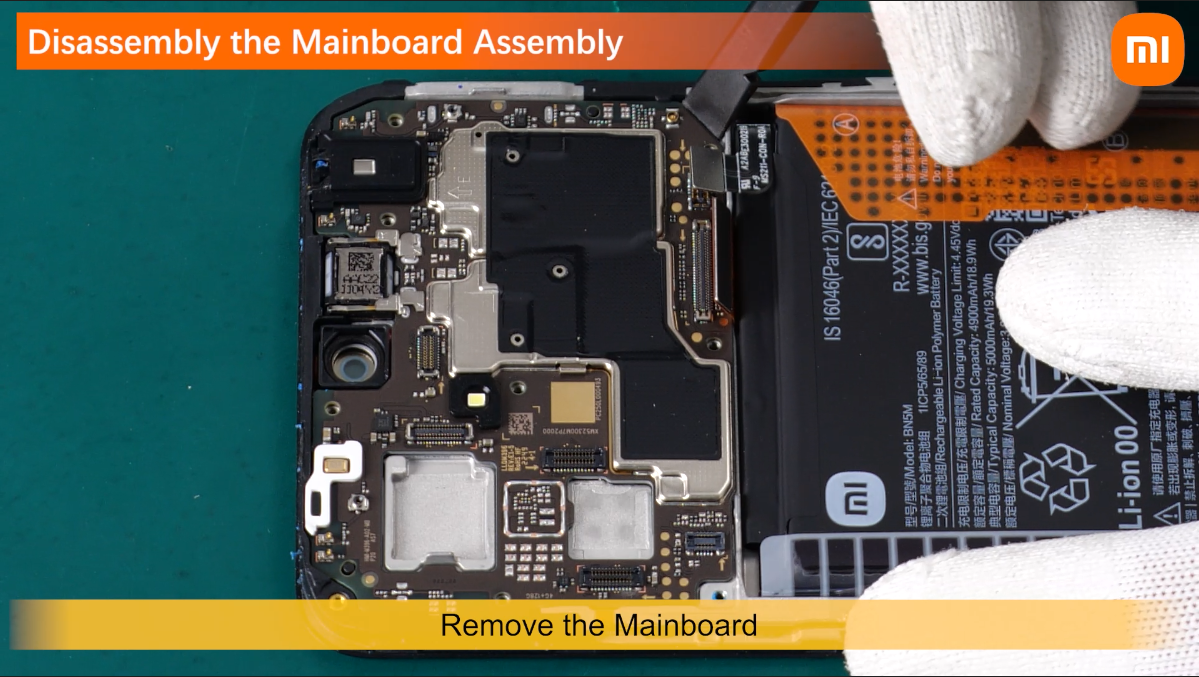
Remove the mainboard.
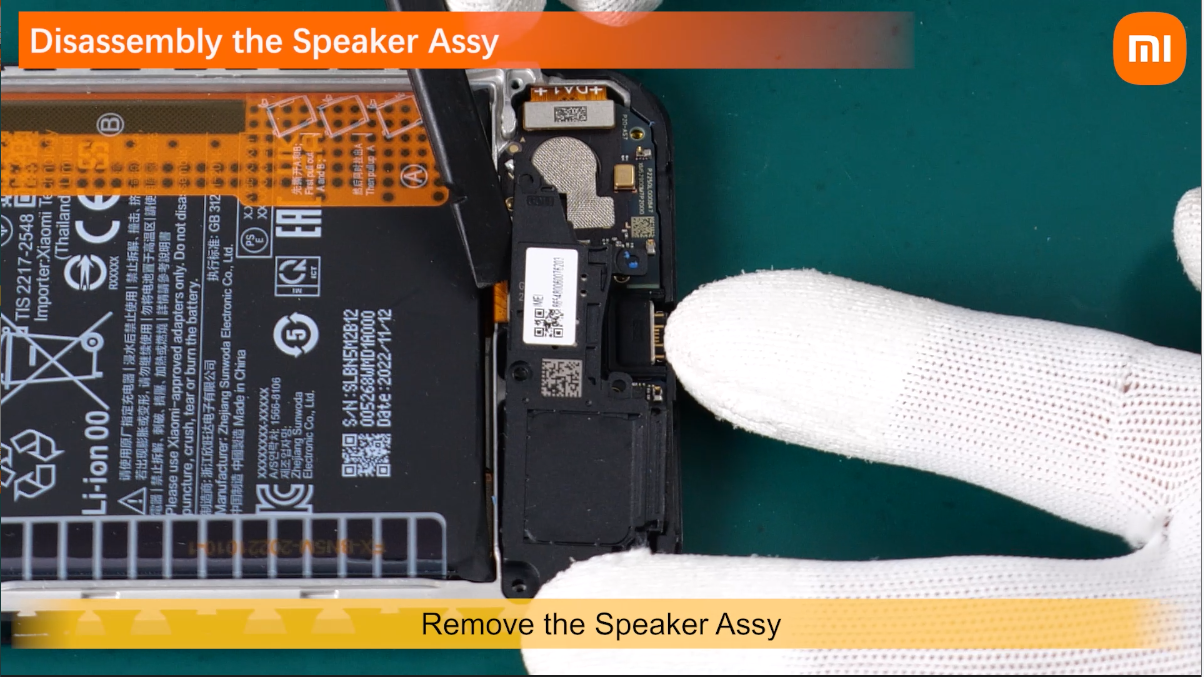
Remove the Speaker Assy .
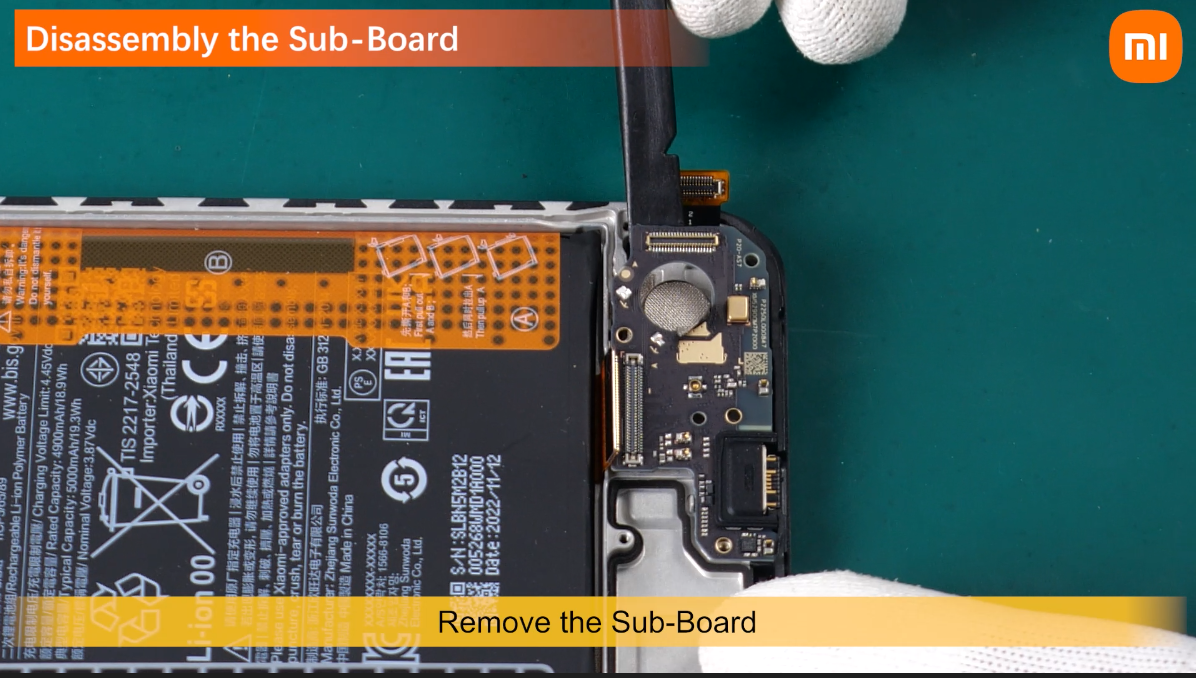
Disconnect the connectors connected to the sub-board.

Remove the Sub-Board.
Use a tweezer to slowly lift and remove the Vibrator.

remove the receiver.

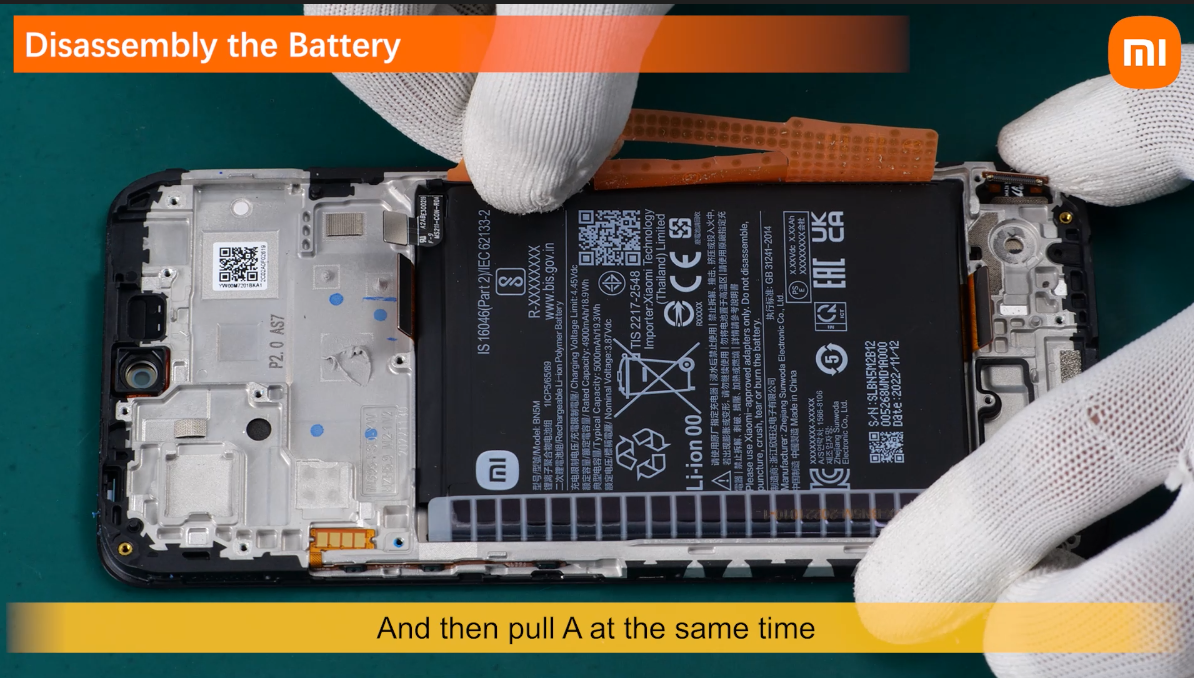
Lift the battery easy release adhesive
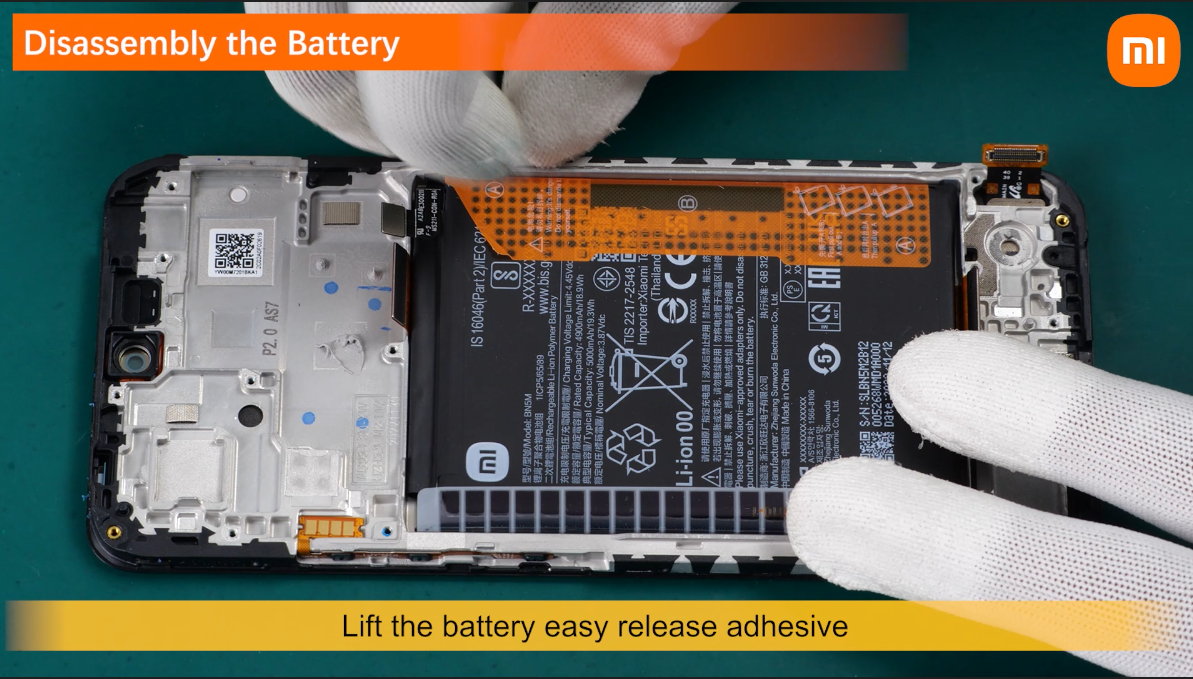
to tear sticker A and B.
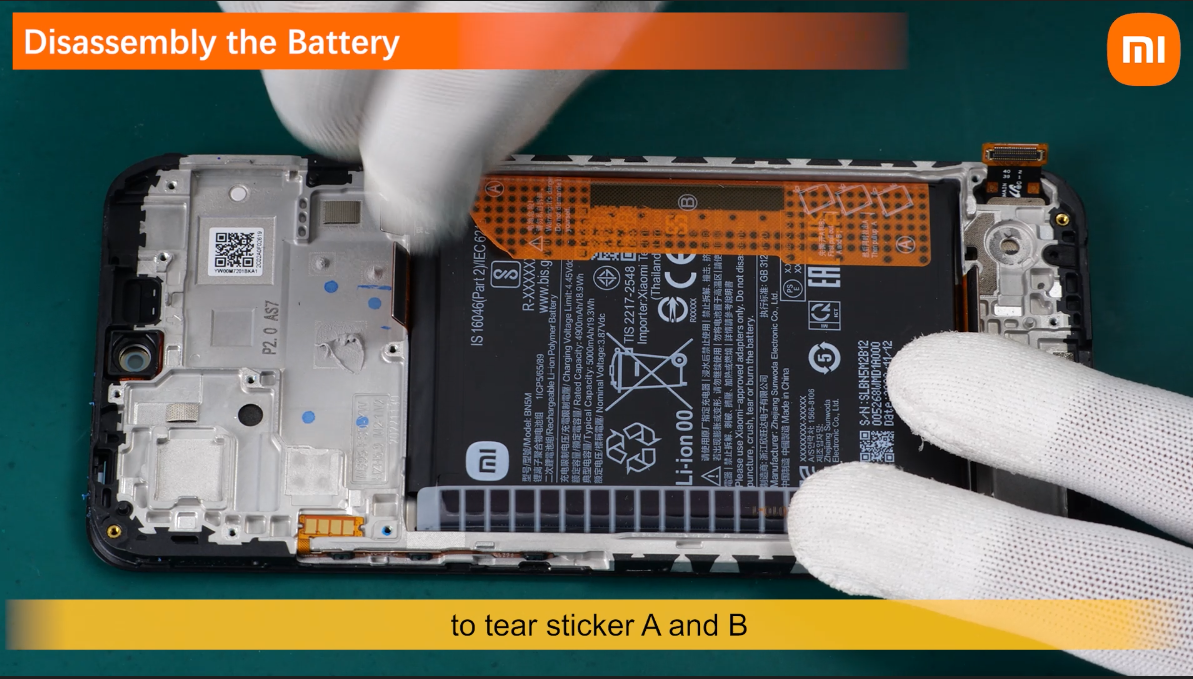
And then pull A at the same time.
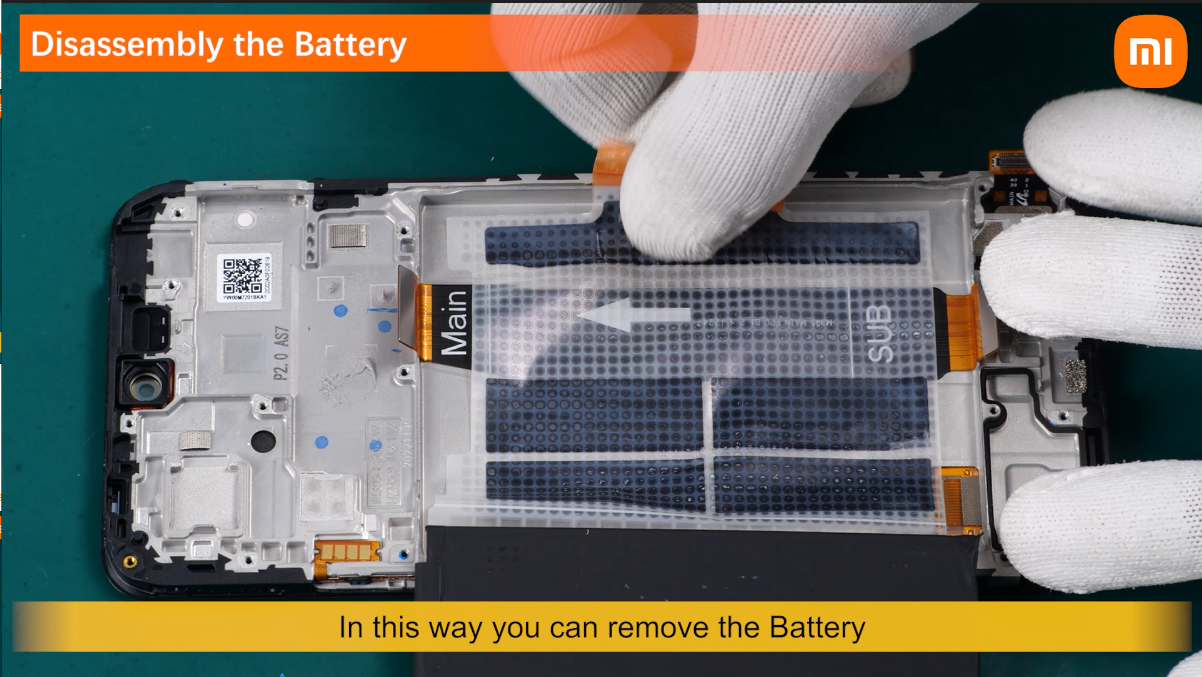
In this way you can remove the Battery.
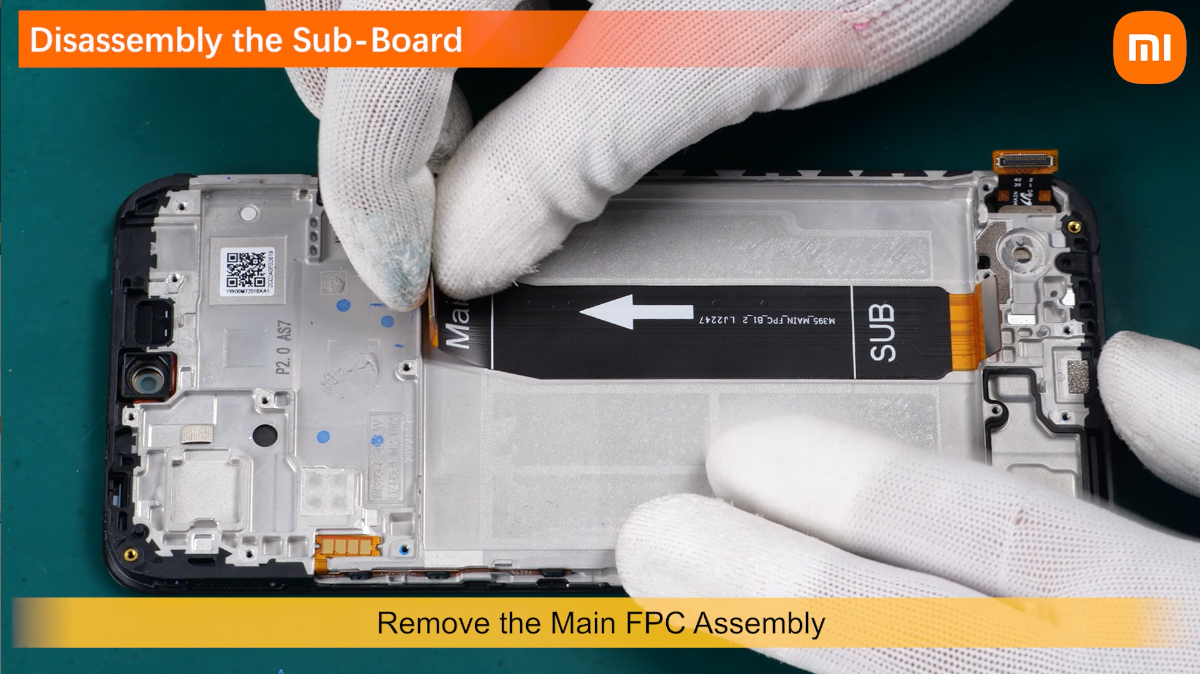
remove the Main FPC Assembly.
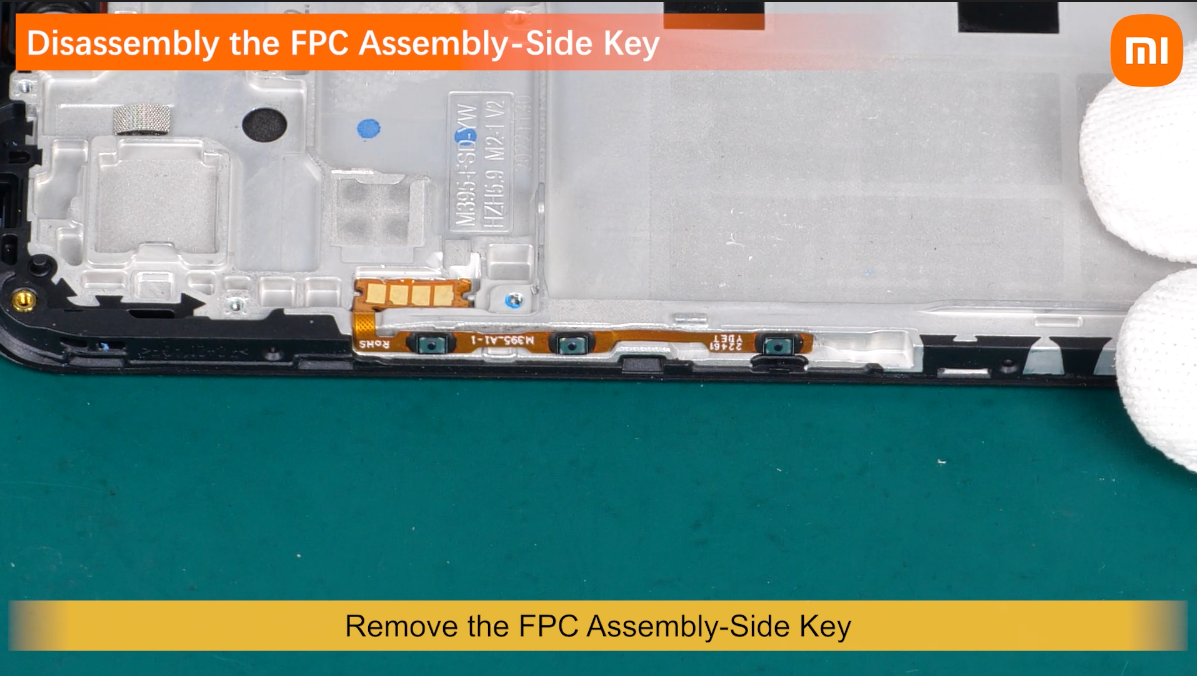
Remove the FPC Assembly-Side Key.
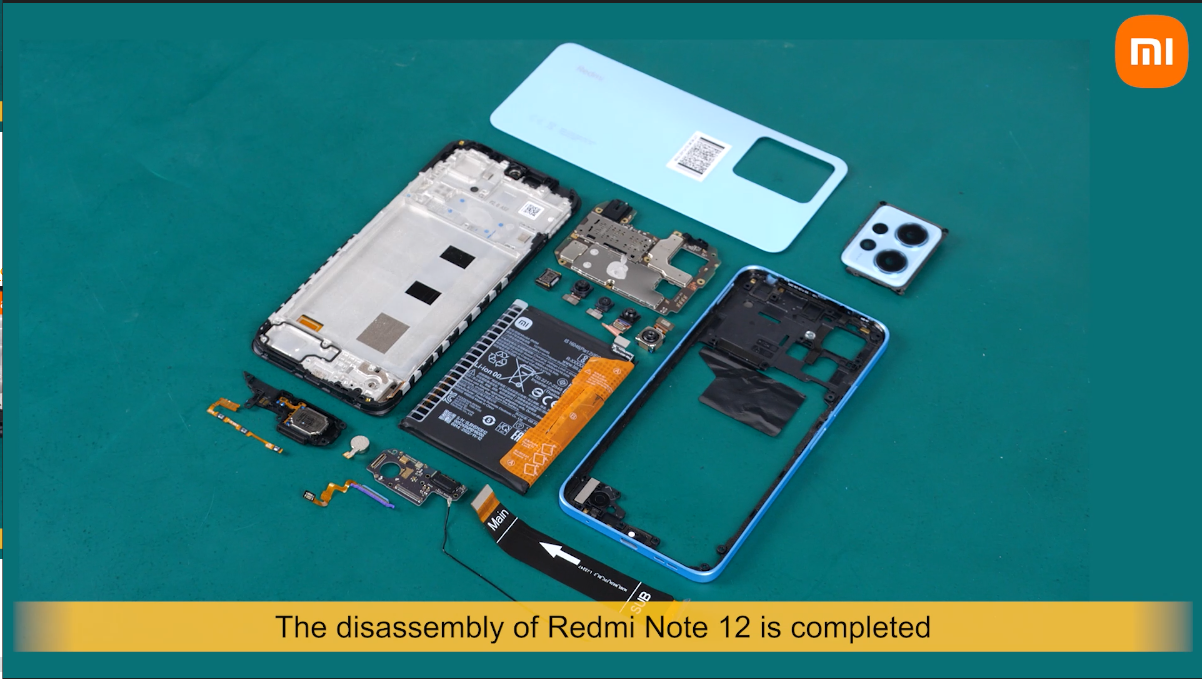
The disassembly of Redmi note 12 is completed .