
Vibrant, crystal-clear photos
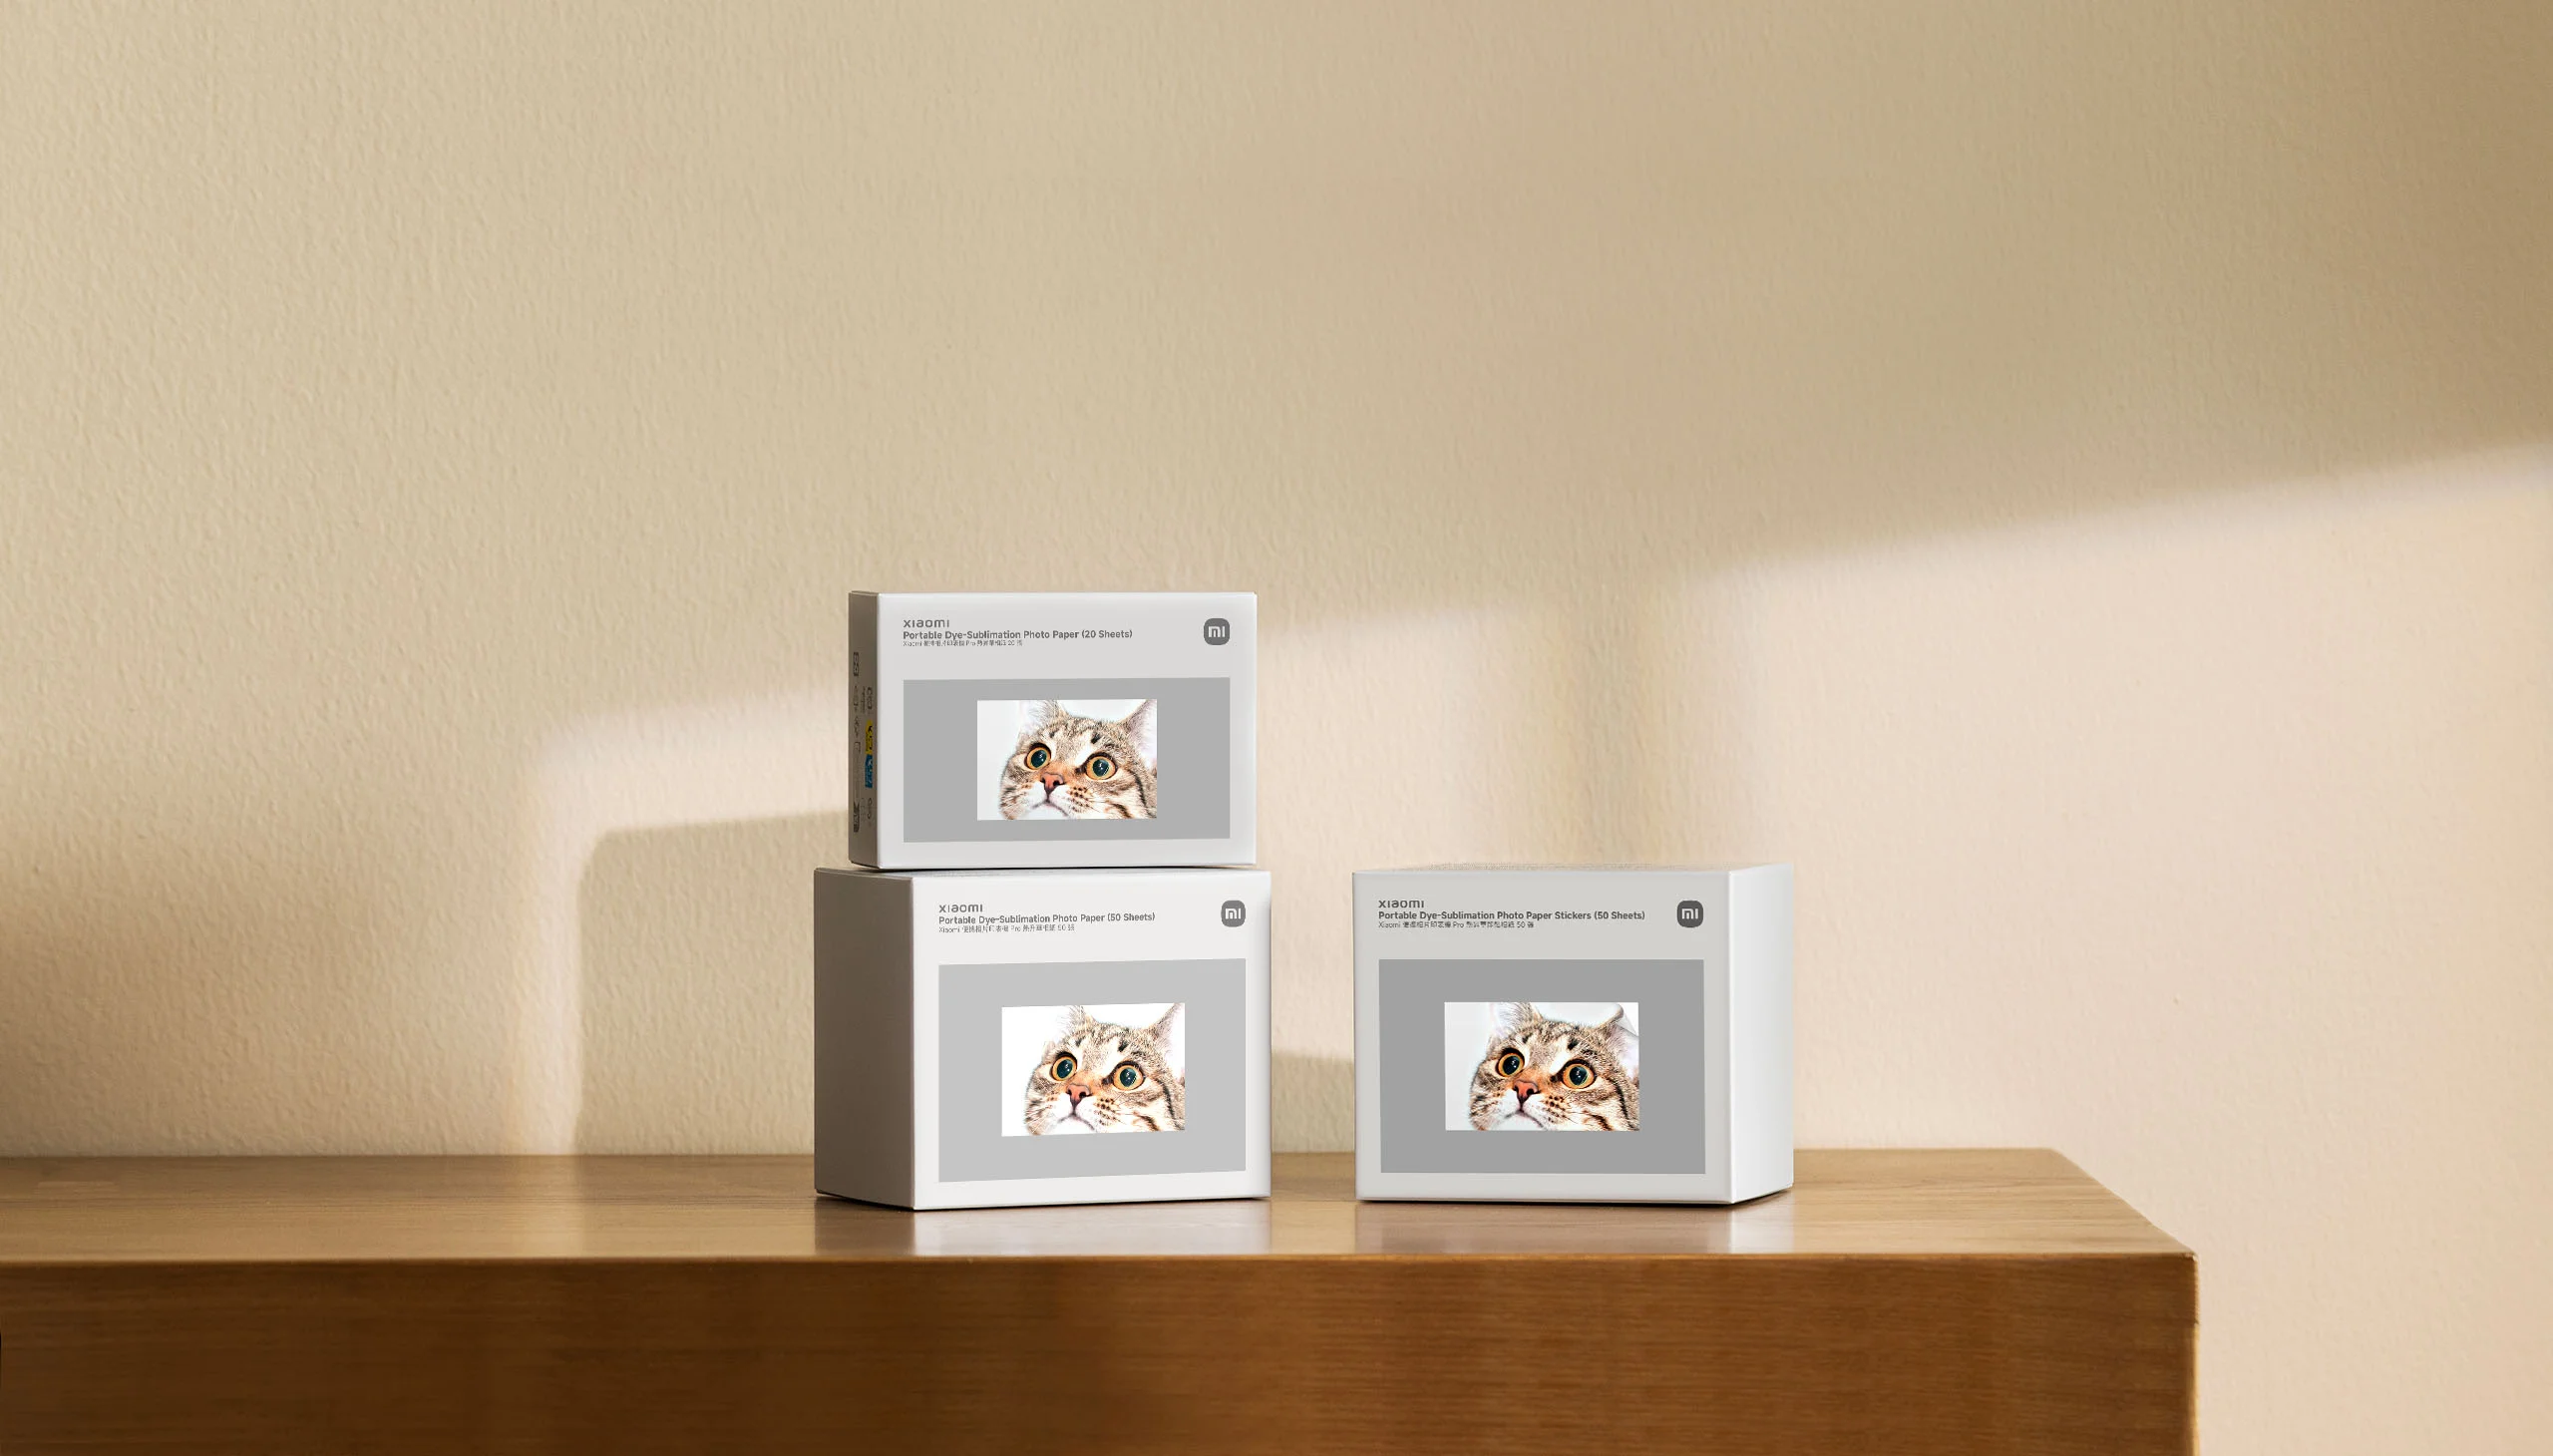
*Xiaomi Portable Dye-Sublimation Photo Paper (20 Sheets), Xiaomi Portable Dye-Sublimation Photo Paper (50 Sheets) and Xiaomi Portable Dye-Sublimation Photo Paper Stickers (50 Sheets) are all compatible with Xiaomi Portable Photo Printer Pro.

Xiaomi specialised photo paper
Relive your memories in stunning detail
Using the latest dye-sublimation printing technology, high-density ink and premium, uniform photo paper combine to produce photos rich in detail and vibrant colors, bringing your memories to life with stunning clarity.
Rich details
Exceptional picture quality

Outstanding photos
True-to-life colours


Integrated automatic lamination
Images that withstand the test of time
The printer automatically laminates each photo during printing, protecting them from everyday moisture and fading, so your precious memories stay vivid for years to come.


Self-adhesive backing
Great for sticking or placing
The self-adhesive photo paper is easy to peel and stick. Cut it to any size for use in scrapbooks, on fridges, or as photo stickers.

Photo paper and ink cartridge installation
Load the photo paper
Step 1: Open the printer paper tray cover.
Slide in
Step 2: Load the photo paper.
Remove the packaging and place the entire stack into the printer.
The perforated line should face the paper output slot, as shown in the illustration.
Place the paper text side up, glossy side down.
Output slot
*The printer tray can hold up to 10 sheets of ordinary photo paper, or 5 sheets of photo paper stickers at a time.
*Avoid touching the glossy side of the photo paper to maintain print quality.
*After printing, fold and tear off the white edge along the perforated line.

Step 3: Place the paper tray cover onto the printer as shown in the illustration below (left), then press down into place.
Ink cartridge installation
Step 1: Open the printer's ink cartridge cover.

Step 2: Insert a new ink cartridge and click close.
*Avoid touching the cartridge surface to prevent affecting print quality.
*Push down the orange clip behind the ink cartridge cover to remove the cartridge.
Step 3: Close the ink cartridge cover.

Note:*The images on the page are for illustrative purposes only. Actual product effects (including but not limited to appearance, colour and size) and images (including but not limited to background, UI and illustrations) may vary slightly. Please refer to the actual product.